When a shop starts seeing drifting dimensions, unstable first parts, or rework that appears only after re-clamping, the machine is often blamed first. In reality, many precision problems begin in the workholding chain: poor jaw seating, inconsistent centering, chip contamination on locating surfaces, weak support under the cut, or an operator rebuilding the datum differently every time.
A self-centering vise helps because both jaws move symmetrically, so the part returns to a consistent centerline instead of relying on a one-sided push-and-indicate routine. For shops running repeat jobs, mixed part families, or multiple operators, that consistency is often what separates predictable production from tolerance drift that only shows up after the second or third batch.
Where Repeatability Is Usually Lost in Daily Machining
Repeatability is rarely lost in one dramatic event. It slips away through small decisions that accumulate across the shift: a jaw is swapped but not re-seated cleanly, the stock sits slightly differently because a burr is left on a locating face, or the part is clamped with too little support under an aggressive roughing toolpath. Each event looks minor on its own, but together they create a setup that behaves differently from lot to lot.
That is why troubleshooting should start with the setup sequence rather than with offsets alone. Ask whether the error moves after the same part is unclamped and re-clamped. Ask whether the first part after changeover needs more correction than the fifth. Ask whether two operators get the same result from the same raw blank. Those questions usually tell you whether the problem is being generated by the machine, the process, or the workholding method.
- Jaw contact: uneven contact can tilt or twist the workpiece under load.
- Datum recreation: one-sided clamping often forces operators to rebuild the centerline after every swap.
- Support under the cut: thin walls and tall parts need support strategy, not just more force.
- Chip control: locating faces and interfaces must stay clean if repeatability is the goal.

A Shop-Floor Diagnostic Checklist Before You Touch Offsets
Before changing tools, probing logic, or machine compensation, run a short workholding audit. Re-clamp the same part twice. Clean and inspect the jaw seats. Verify whether the part is bottoming correctly or hanging on stock variation. Check whether clamp force is solving the problem or hiding it. Shops often save hours by diagnosing those basics first.
| Checkpoint | What to look for | Typical action |
|---|---|---|
| Re-clamp repeat test | Does the part come back to the same centerline and Z support condition? | Test the same blank 2–3 times before adjusting offsets. |
| Jaw seating | Chips, burrs, worn contact edges, or loose jaw hardware. | Clean, torque correctly, and re-seat the jaw set. |
| Support under cut | Tall, thin, or interrupted parts moving under roughing load. | Add support, adjust jaw profile, or reduce unsupported height. |
| Datum strategy | Is the datum rebuilt manually after every swap? | Standardize on a self-centering or zero-point based setup. |
How Vise Construction, Jaw Support, and Grinding Influence Accuracy
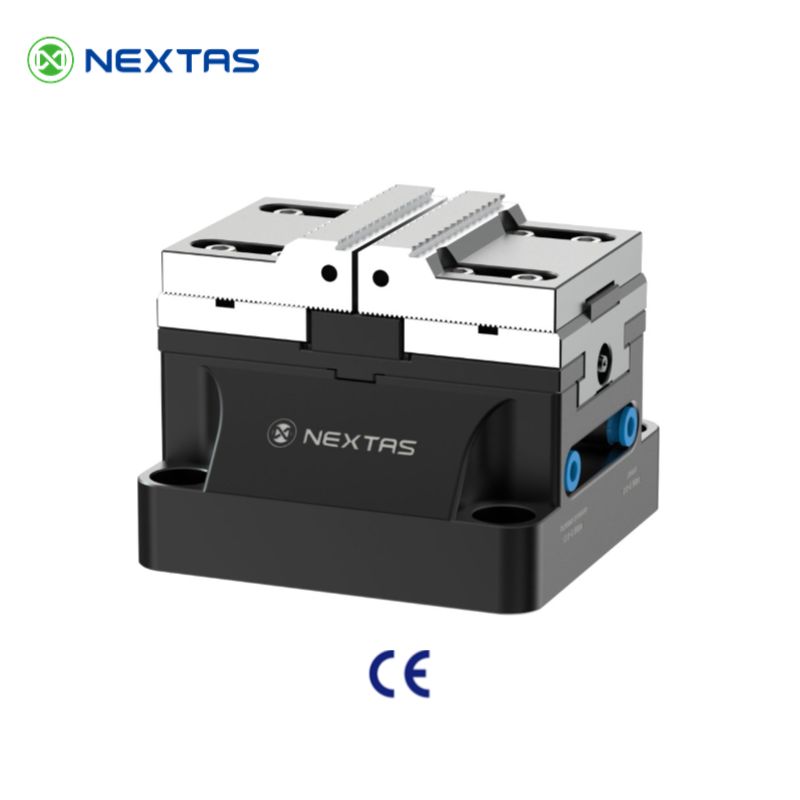
Catalog repeatability numbers only matter when the whole structure supports them. On the Nextas self-centering vise platform, the practical value comes from the combination of hardened stainless steel, precision-ground critical surfaces, and a symmetric clamping mechanism built for repeat positioning. According to the current Nextas product catalogue, the self-centering vise line is built around repeat positioning accuracy below 0.02 mm, hardened stainless steel construction, and models arranged around 52 mm and 96 mm spigot spacing for different machine sizes.
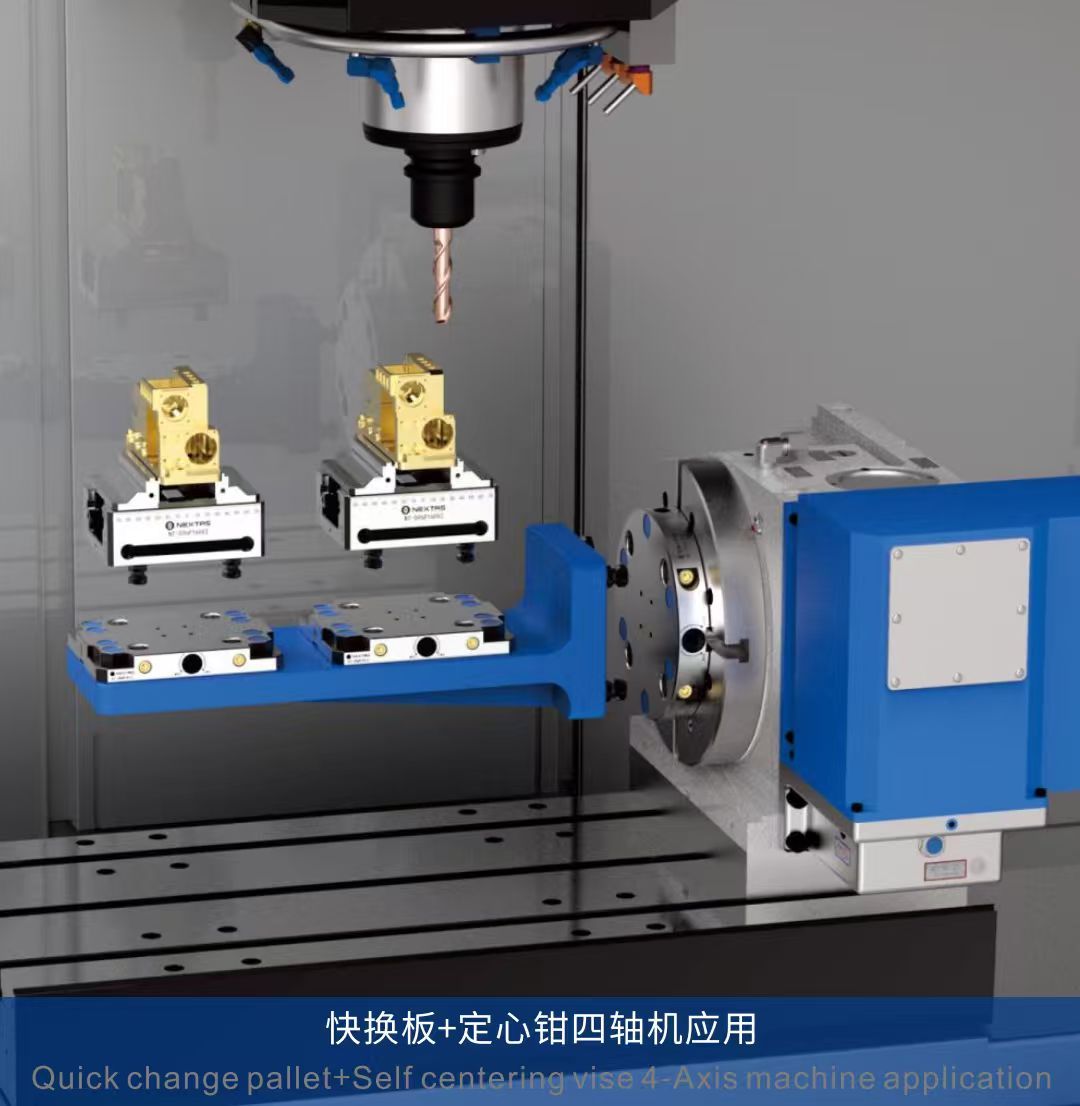
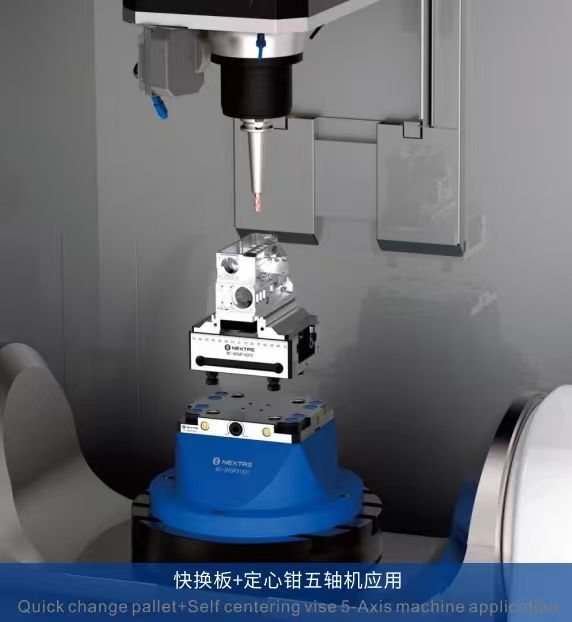
In the shop, those details matter because rigid, precision-ground contact surfaces reduce micro-movement at the jaw interface. Better parallelism means less induced error when the part is clamped. Better body rigidity means less tendency for the setup to behave differently during roughing than during finishing. And when the same base logic can be reused across compact and larger vise footprints, it becomes easier to standardize setups across 3-axis, 4-axis, and 5-axis machines instead of reinventing them.


When to Pair a Self-Centering Vise with Zero-Point Clamping
A self-centering vise improves repeatability at the part level. A zero-point clamping plate improves repeatability at the setup level. If your shop removes vises between jobs, swaps fixtures offline, or wants to move a proven setup between machines, combining the two usually delivers the fastest operational improvement.
This combination makes the most sense when:
- Changeovers happen often: you save time not only on clamping the part, but on returning the whole vise-and-part package to a known machine position.
- Multiple machines share the same workholding standard: standard interfaces make transfer and scaling easier.
- Automation is planned: palletized, repeatable modules are easier to integrate into robotic or unattended workflows.

What to Send When You Ask for a Fixture Recommendation
If you want a useful engineering recommendation instead of a generic product pitch, send the job context. A good supplier needs more than just the raw stock size.
- Machine type and axis configuration
- Workpiece material and approximate blank size
- Main tolerance risk: flatness, centerline, parallelism, distortion, or re-clamp repeatability
- Batch size and changeover frequency
- If you want manual loading only or future automation compatibility
With that information, it becomes much easier to decide whether a compact self-centering vise, a larger 96 mm-base model, a zero-point plate stack, or a more customized fixture approach is the right next step.


